
Social media will try to sell you every gardening tool under the sun—mostly thanks to paid influencers. But which tools are useful, and which ones are just a waste of your money?
Here are a few products I think most gardeners can confidently skip.
1. Seed-Starting Kits — Don’t.
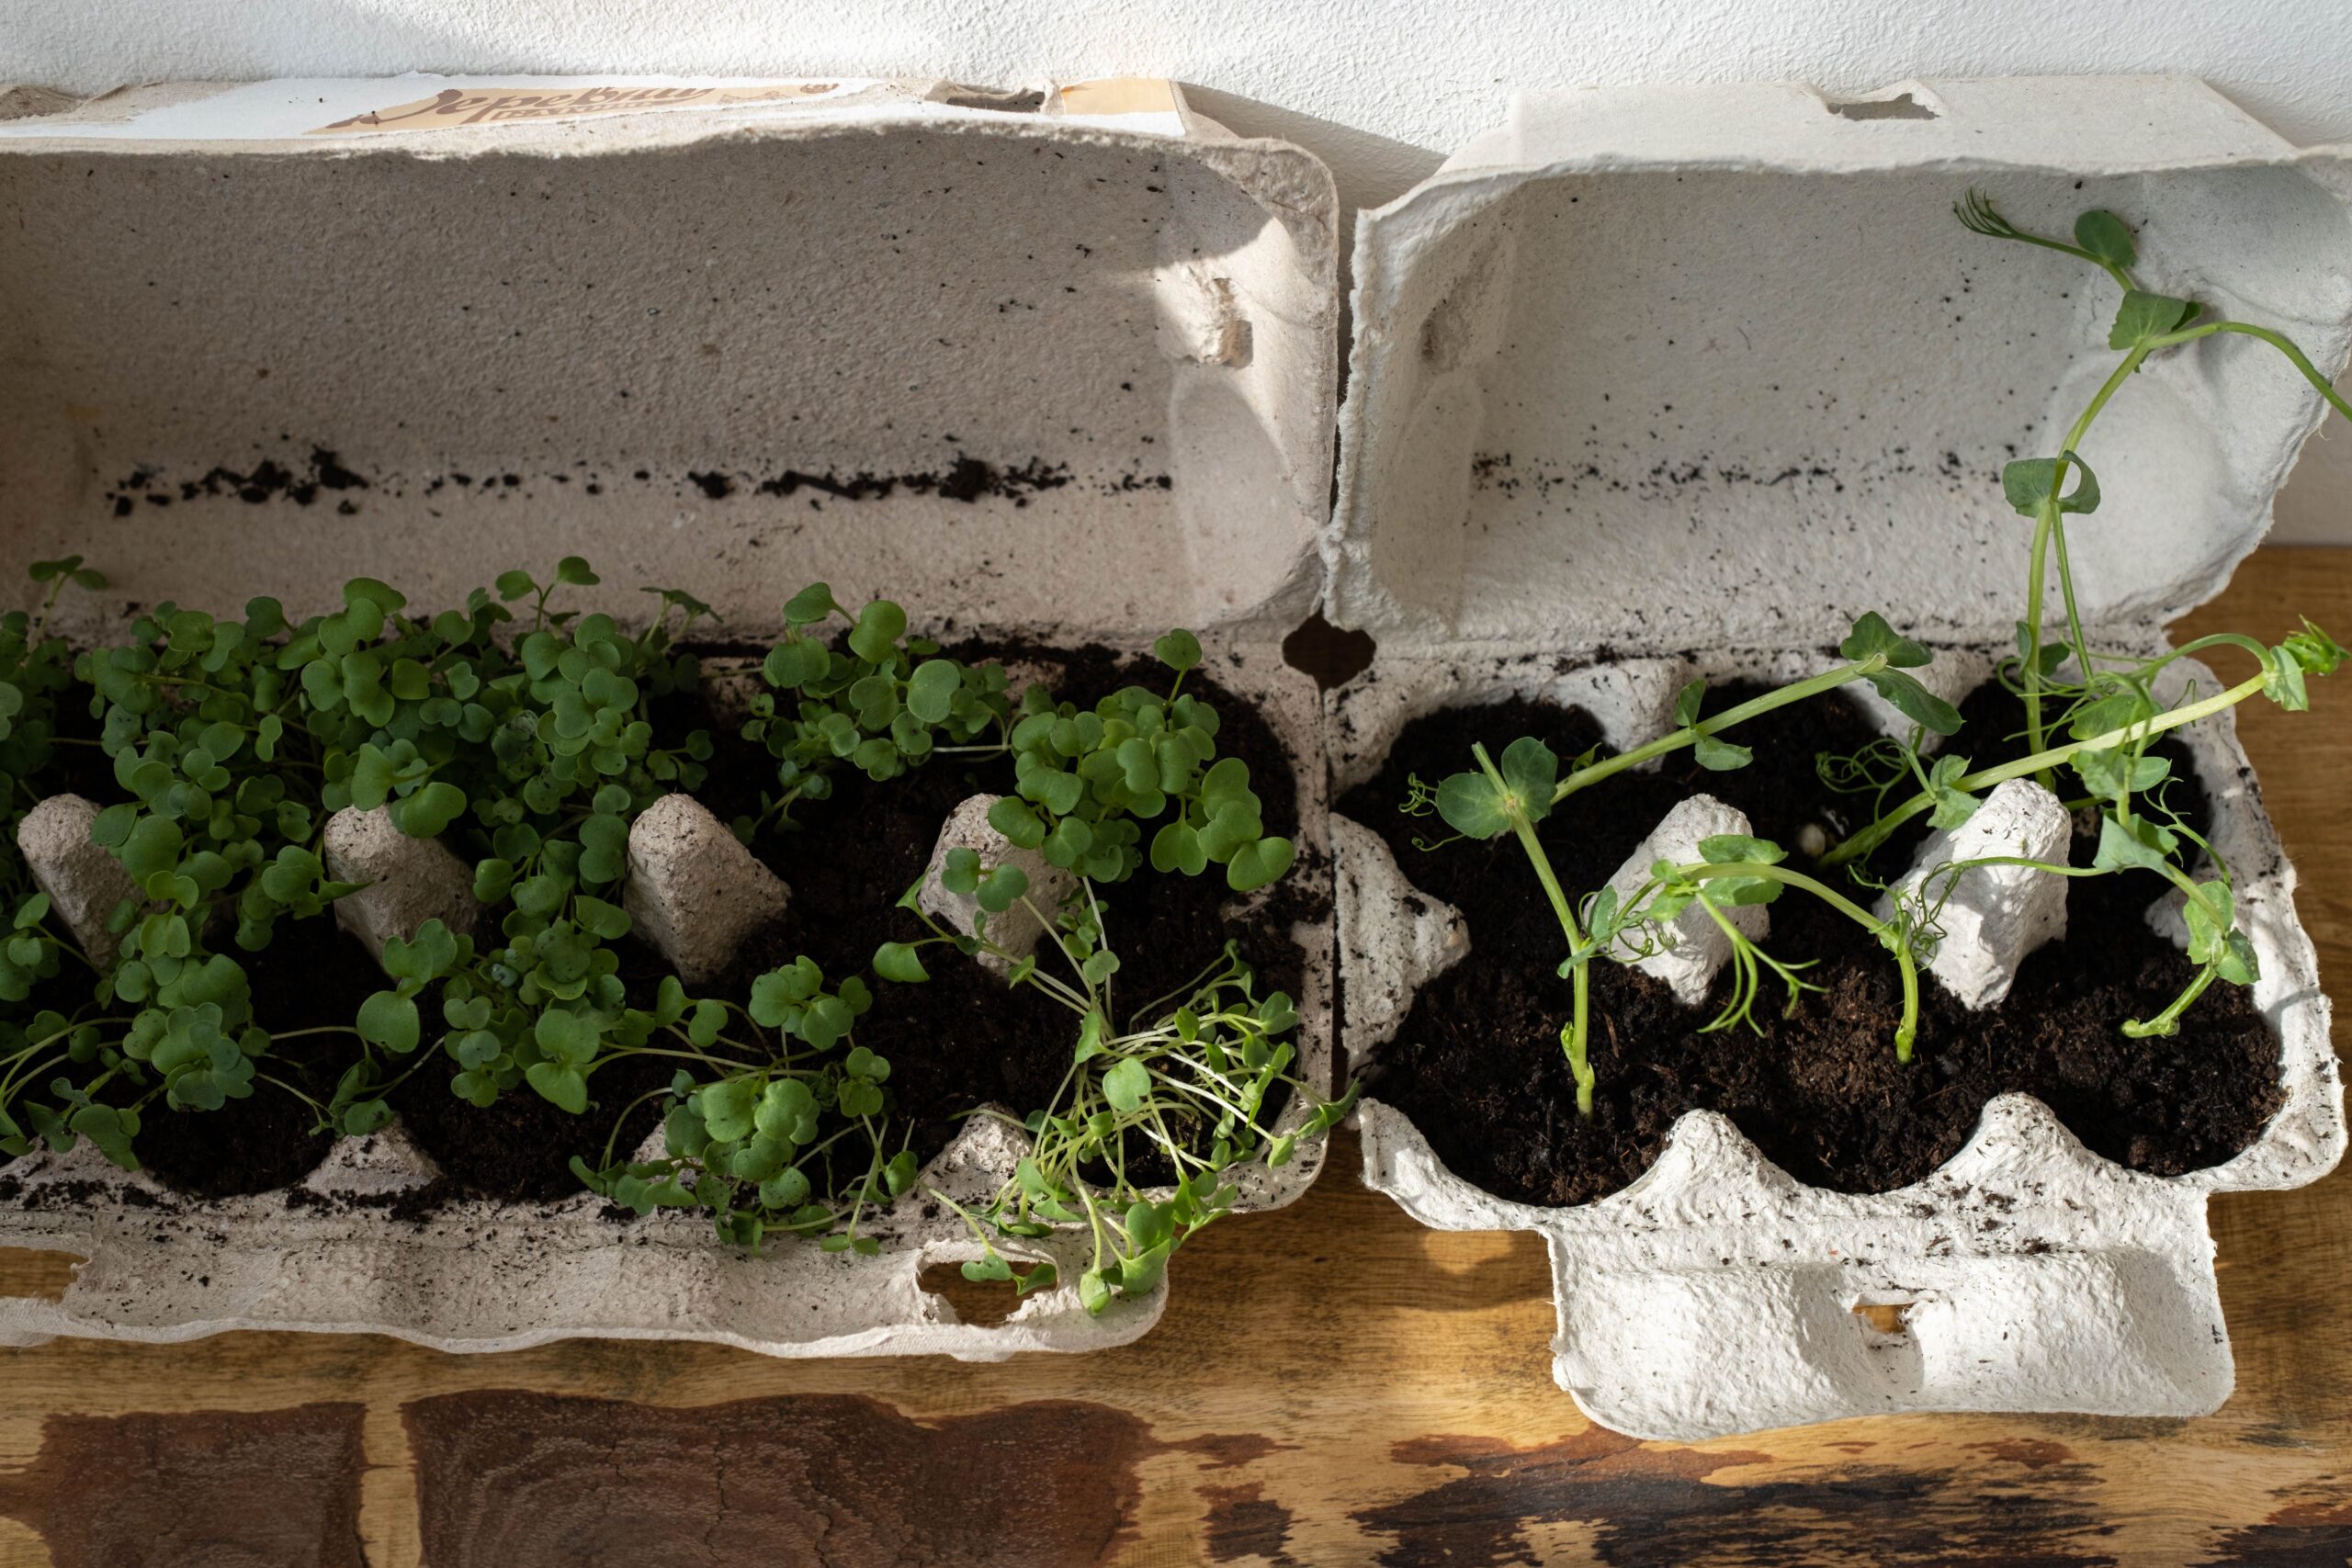
If you’re starting seeds, I’d pass on the expensive, prepackaged seed-starting kits. You can easily put together your own setup for a fraction of the price.
Buy a bag of perlite, some quality compost, and collect a little coarse sand (easy for me since I live on the coast) to create your own seed-starting mix. Then ask your local garden center if they have any used 3½-inch plastic nursery pots they’re planning to recycle. Most are more than happy to give them away.
You’ll save money and end up with a setup that works just as well—without the fancy packaging.
2. Weed Barrier Fabric — Keep It Moving.
Another product I rarely recommend is weed barrier fabric. Despite what the packaging promises, it’s not a magical solution to weeds, and it can become a real headache over time. Instead, use cardboard or builder’s paper as a temporary weed-suppressing layer. It blocks light, breaks down naturally, and eventually adds organic matter to the soil rather than leaving synthetic fabric behind.
Your garden doesn’t need another layer of plastic.
3. Specialty Pruners — Yeah, No. You Only Need Three.
Finally, resist the temptation to build yourself an entire collection of specialty pruning tools. For most homeowners, three pruning tools will handle just about everything: a good pair of handheld bypass pruners, a pair of loppers, and hedge shears.
Those three tools will tackle the vast majority of pruning jobs in the average garden. Save your money—and the drawer space—for something you’ll actually use.
Okay, You Burst My Bubble. What DO I Actually Need?
So, I’ve convinced you that you don’t need that topiary shear or fruit-harvesting pruner you had your eye on. Sorry.
Instead of buying a dozen specialized tools, invest in a small collection of high-quality basics that will handle almost every gardening task for years to come.
I’d start with three shovels:
- Trenching spade — for narrow, deep planting holes and digging in tight spaces.
- Round-point shovel — your go-to for general digging and planting.
- Square scoop shovel — for moving mulch, soil, compost, and other loose materials.
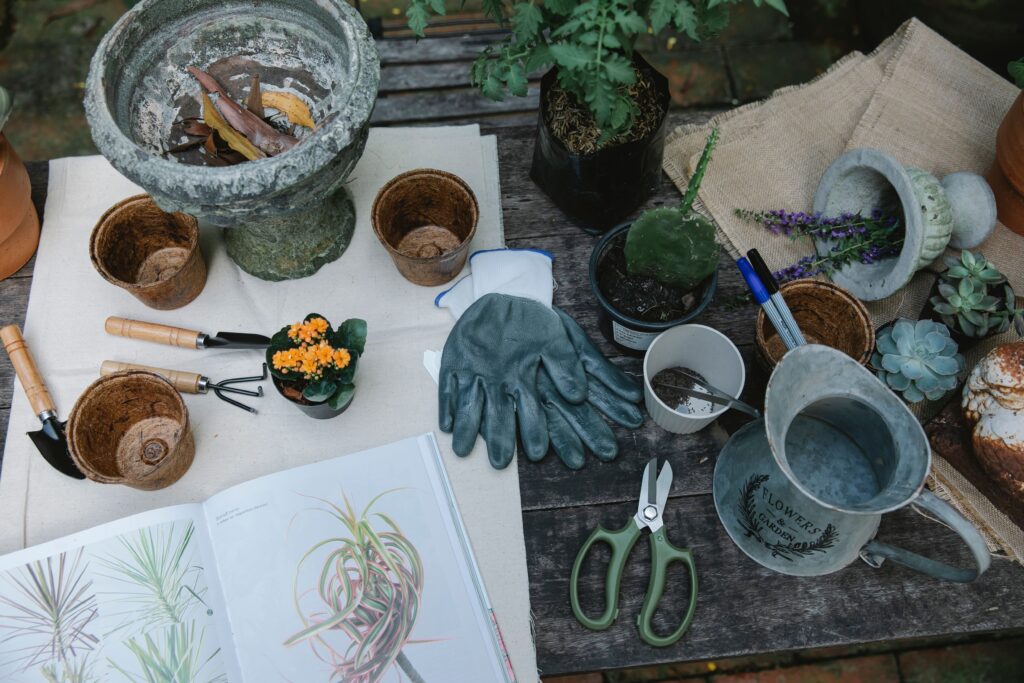
Then add a sturdy wheelbarrow, a few buckets, durable garden gloves, a hand trowel, grass shears, a bow saw, loppers, bypass pruners, and hedge shears.
One Specialty Tool I Especially Recommend: The Dutch Hoe
And no—it’s not a loose woman from the Netherlands. A Dutch hoe is an incredibly effective and underrated gardening tool. Its sharp, horizontal blade makes quick work of young, shallow-rooted weeds by slicing them off just below the soil surface before they have a chance to become established.
If dandelions or other deep-rooted weeds are common in your yard, add a simple dandelion weeder to your arsenal. It’s inexpensive, takes up virtually no space, and can save you a lot of frustration.
With this basic toolkit, you’ll be prepared for nearly every routine gardening job. The goal isn’t to own every gardening tool ever invented. It’s to own the right tools—and actually use them. Most of the rest are designed for specialized projects or professional applications and simply aren’t necessary for the average homeowner.
Are There Any Clever Gardening Hacks to Save Money?
Absolutely—and one of my favorites is making your own liquid fertilizer. This stuff is basically liquid gold: incredibly useful, easy to make, and surprisingly expensive to buy.
I recently spent several weeks in Alaska, where many gardeners make their own fertilizer from bull kelp and other seaweeds that wash up along the shore. With nurseries few and far between in some areas, gardeners have become incredibly resourceful about using what’s readily available.
To make your own kelp fertilizer, rinse the seaweed thoroughly to remove excess salt, chop it into smaller pieces, and place it in a covered bucket. Add fresh water, cover it, and let it steep for three to six weeks. Strain out the seaweed and dilute the resulting liquid at roughly 1 part fertilizer to 10 parts water before applying it to your plants. Kelp isn’t a complete fertilizer, but it’s packed with trace minerals and naturally occurring plant compounds that can support healthy growth and help plants cope with environmental stress.
No seaweed? No problem. You can make a similar homemade fertilizer from grass clippings, comfrey, nettles, or even healthy weeds you’ve pulled from the garden. Fill a bucket about halfway with plant material, add a handful of compost or garden soil, and cover everything with water. Let it steep for two to four weeks, then strain out the plant material. Dilute the liquid until it resembles weak tea—generally around 1 part fertilizer to 10–20 parts water. It’s cheap, easy, and a great way to recycle nutrients that are already growing right in your backyard. Why buy fertilizer when your garden is practically making it for you?